Data Upload
Once you are logged in to the online Workbench you are ready to start your analysis. The first step is to create a project and upload your brain image series to be analysed. You then convert the images to DZI format using the conversion tool in the workspace, combine the images into an image series representing one brain and select the reference atlas to use for your analysis.
Are there any image requirements?
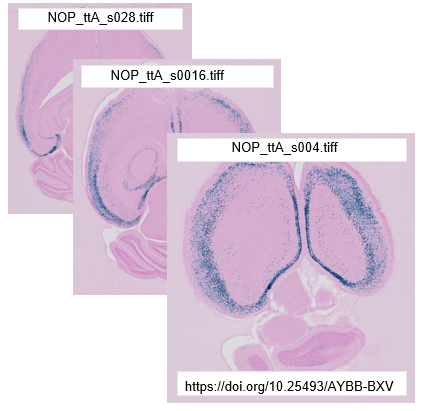
Images in TIFF, JPG or PNG format displaying brain sections can be used in the tools.
To be compatible with the tools, the image files must be named with a unique ID before they are uploaded to the workbench, e.g. _s0030. See Preparing the images for upload.
How do I upload my images?
In the online Workbench, create a new project, give it a name and then open the project.
You are presented with an empty project. Press “Add /Edit series” to upload images series corresponding to each brain to the project. If you have images from more than one brain, upload them as separate image series (e.g. Brain 1, Brain 2, Brain 3, etc).
Once the image series is visible in the project, select it to reveal series information. Press “Convert” to convert the images to the DZI format required by the tools. Depending on the size of the images, this process may take some time. The conversion process will continue if you log out, so feel free to log out and log in at a later time.
Once the images are converted, select the reference atlas to use for analysis (mouse or rat) and press “Generate” to create a registration file. You are now ready to start using the tools.

QUINT online workflow:
Register your images to the atlas: use WebAlign first, followed by WebWarp.
Annotate your features of interest: use LocaliZoom.
View and explore your results: use MeshView.